Sourcing Off-Road Auxiliary LED Lighting from China: B2B Quality & Fitment Guide
For aftermarket brands and specialist 4×4 suppliers: this guide concerns added auxiliary lighting and modification accessories, not routine factory headlamp replacement.
In this guide
- Focus on added capability, not factory lighting replacement
- Which auxiliary-light products belong in the brief
- Start with a vehicle and installation matrix
- Compare optical claims using defined evidence
- Electrical specification and thermal management
- Sealing, corrosion and vibration
- Mechanical mounting and adjustment
- RFQ comparison table
- Sample review: separate appearance from function
- Private label and packaging
- Market requirements and road-use claims
- Repeat-order control and the sourcing next step
Focus on added capability, not factory lighting replacement
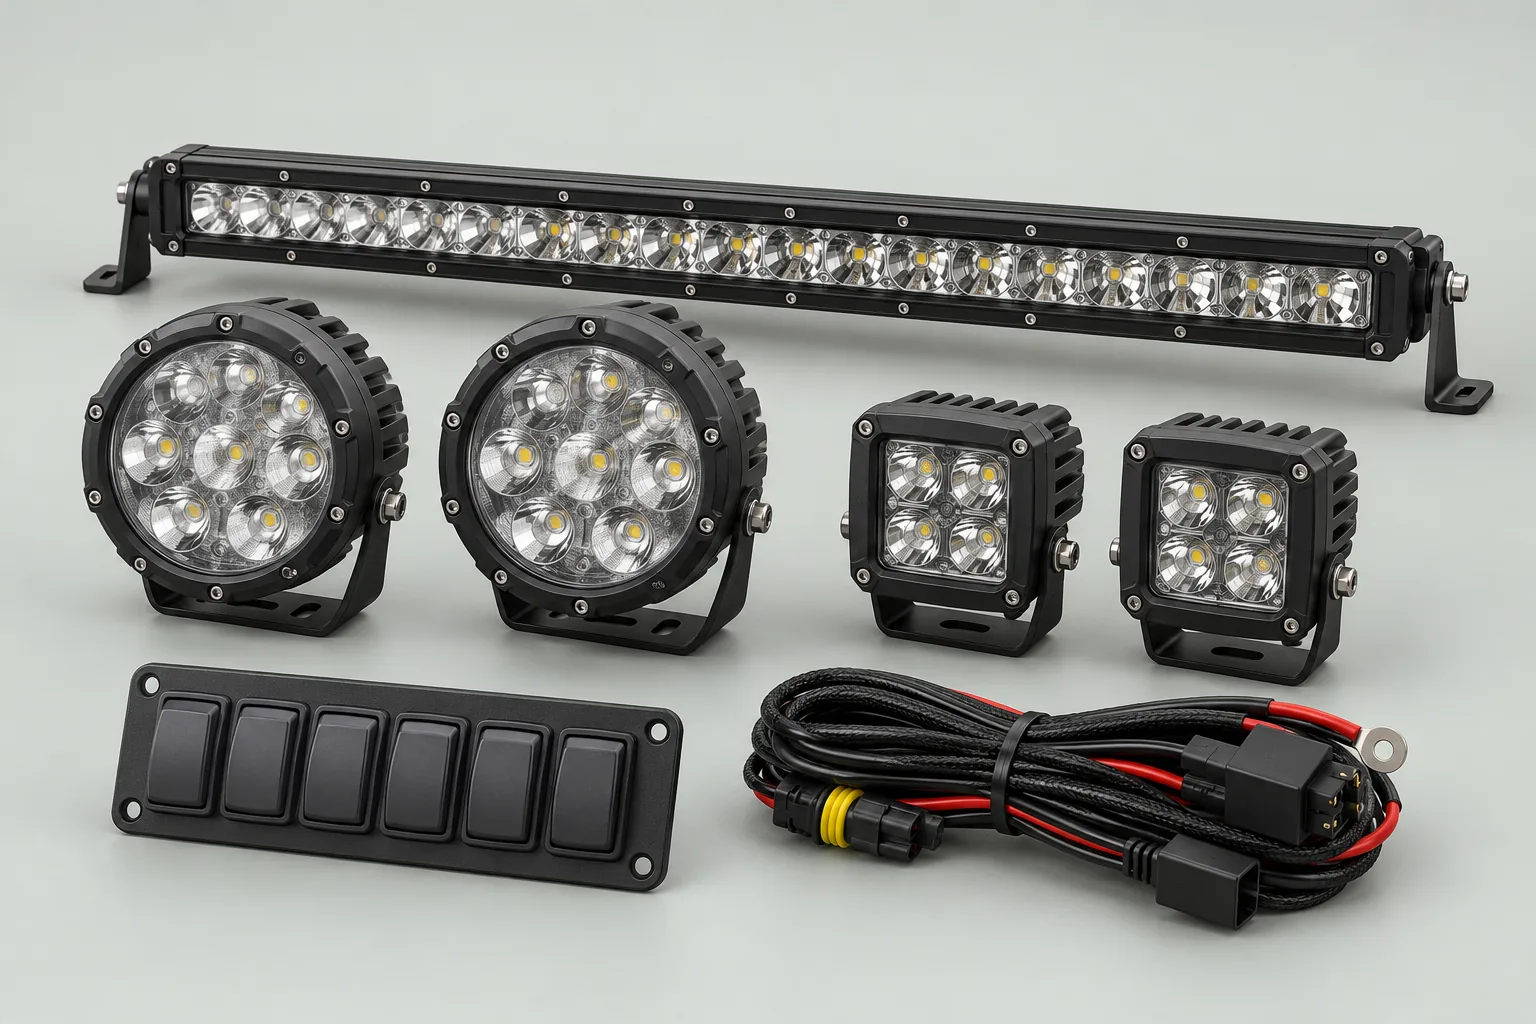
Off-road auxiliary LED lighting is a modification category: the buyer adds a light bar, pod lamps, brackets, switch controls or a dedicated accessory wiring kit to a defined vehicle. That differs from selling original-style headlamp or tail-lamp assemblies intended simply to replace damaged factory units. LedgeGear 4×4 focuses on the former: original-design aftermarket accessories and custom modification components for specialist brands and distributors.
A product that appears bright in supplier photographs is not necessarily appropriate for the intended vehicle, location, electrical system or operating environment. Lighting claims require product-specific evidence, and regulatory requirements depend on the function and market. For a useful wholesale quotation, describe the intended lighting purpose before requesting prices.
Which auxiliary-light products belong in the brief
- Off-road LED light bars: defined beam distribution, physical size, mounting system and intended use.
- Auxiliary pod lights: vehicle-specific brackets, aiming range and installation clearances.
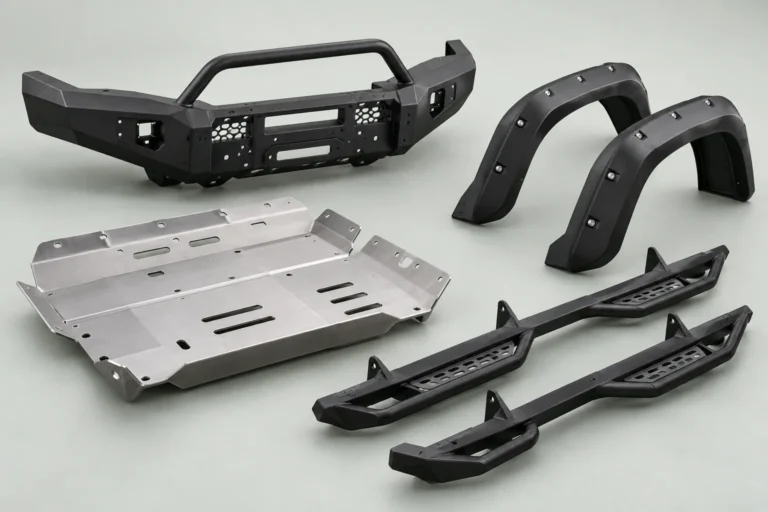
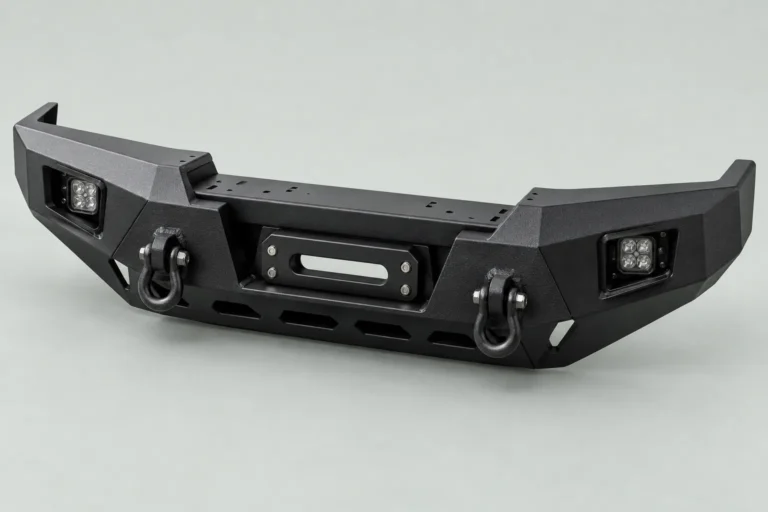
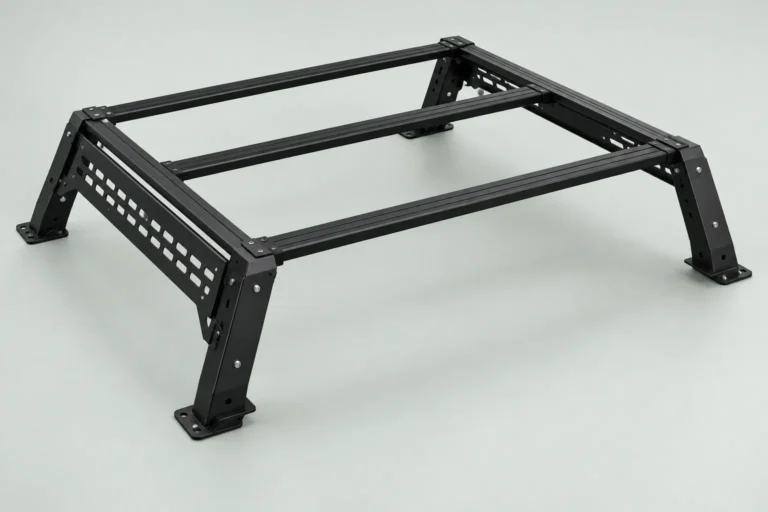
- Roof, bumper and grille mounting hardware: original-design supports matched to an identified vehicle platform.
- Trail, cargo and work-area accessories: products with clearly identified installation location and operating conditions.
- Custom switch and harness kits: documented load architecture, pinout, fusing assumptions and protected routing.
Start with a vehicle and installation matrix
Record make, model, generation and year range, then confirm trims and packages that alter the front bumper, grille, roof rails, camera or sensor arrangement. Wrangler, Bronco, Tacoma, 4Runner and pickup configurations vary substantially. A bumper-installed bar may interfere with recovery equipment, sensors, cooling airflow or the intended approach angle. A roof-mounted bar creates different clearance, wind-noise and fixing questions.
If a product is universal rather than vehicle-specific, state the dimensions and mounting interfaces it requires. Do not imply that one bracket fits every member of a large model family without test evidence.
Compare optical claims using defined evidence
Lumens, lux, beam angle, candela and colour temperature describe different properties and cannot be treated as interchangeable. A manufacturer’s headline “watt” rating may be an electrical figure or a marketing label. Ask suppliers to identify the exact measured quantity, operating input, test conditions and report origin. A generic claim of exceptionally high lumens is not meaningful unless the test applies to the shipped configuration.
Buyers should specify whether the intended application needs a focused driving beam, a broader work-area distribution or another defined pattern. Request relevant beam data and compare it with actual usage, avoiding unsupported claims that a lamp is legal for every public road or vehicle class.
Electrical specification and thermal management
Identify the nominal vehicle voltage and expected operating range, actual current draw at stated input, connector interface, switching method and circuit-protection requirements. For an integrated product, ask who is responsible for the wiring design, thermal evaluation and complete-system review. Excessive wire voltage drop, weak connectors or poorly specified power connections can undermine an otherwise functional lamp.
LED junction and driver temperatures matter to lifetime and light output. A large heatsink in a photograph does not prove thermal performance. Request evidence of intended operating temperature and how it was assessed. Verify that any supplied electrical or ingress rating belongs to the finished assembly rather than just a component used within it.
Sealing, corrosion and vibration
Off-road accessories face water, dust, mud, vibration and changing temperatures. Ask exactly what an advertised IP rating describes, which test method was used and whether connectors, cable exits and mounting interfaces were included. The quality of seals, drainage design and assembly control can be as important as housing thickness.
Specify finishes for aluminum or steel mounting parts, fastener materials, cable-gland details and provisions for preventing fretting or loosening. Where vibration or corrosion testing is essential, agree the method, sample state and acceptance criteria in advance. “Waterproof” and “military grade” are not adequate purchasing specifications.
Mechanical mounting and adjustment
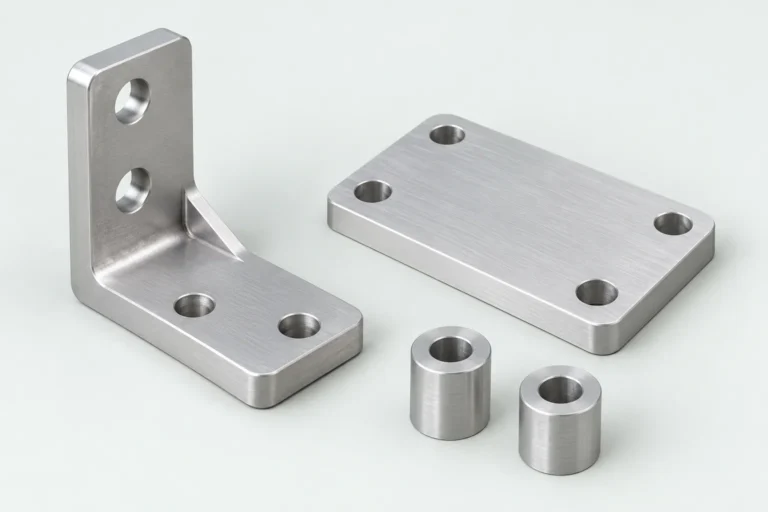
Give a dimensioned bracket drawing or an agreed vehicle reference with defined measurement points. Capture bracket material, hole positions, fastener type, allowable aiming adjustment, clearance to moving components and proposed mounting loads. A visually similar lamp housing may have different mounting feet or hardware kits.
For vehicle-specific modifications, the buyer should verify that the installation does not obstruct cameras, radar units, airflow or safety-related equipment. Supplier photographs on one trim do not establish a universal fit. Installation instructions should specify the exact supported configurations and any exclusions.
RFQ comparison table
| RFQ item | What the buyer should define |
|---|---|
| Intended use | Trail, worksite, controlled off-road use or another identified function |
| Vehicle interface | Platform, generation, mounting position, brackets and known obstructions |
| Optical requirement | Beam purpose, requested measurable data and report scope |
| Electrical design | Input assumptions, current, switching, connections and protection reviewer |
| Environmental needs | Ingress, temperature, vibration and corrosion exposure |
| Kit contents | Lamps, brackets, screws, connectors, wiring and packaging |
| Commercial terms | MOQ, sample cost, branding, lead-time basis, destination and Incoterm |
Sample review: separate appearance from function
Assign each sample an ID and manufacturing revision. Inspect lens and housing finish, seals, wiring exits, connector orientation, bracket geometry, labeling and packing-list completeness. If an electrical review is agreed, record the tested input and output data, method, operator and test equipment. If environmental testing is required, confirm that the result applies to the complete product and its intended configuration.
A trial-fit should identify the vehicle, existing modifications, mounting points, wire route and reported installation problems. Keep the sample photographs and observations linked to a controlled revision. One favorable test is not a blanket statement about every production batch or vehicle application.
Private label and packaging
For accessory brands, confirm design rights and permitted branding, plus case markings, SKU conventions, carton protection, included hardware and instructions. A label should accurately describe the product’s supported use and avoid suggesting an approval that has not been established. Discuss whether the supplier offers separate lamp bodies and brackets, or a complete validated kit, and reflect that distinction in the SKU and quote.
If a brand chooses its own mounting design, record that version separately. Repackaging an accessory under a new brand does not establish that its optical, electrical or regulatory claims have been verified.
Market requirements and road-use claims
Requirements for lighting depend on its function, installation, destination country and intended use. In the United States, certain required lighting equipment and vehicle modifications are governed by federal and state requirements. Other jurisdictions apply their own frameworks. Describing a product as “off-road only” does not automatically settle every legal or product-safety question.
Before making road-use or certification claims, seek the applicable technical and regulatory review and verify that reports relate to the actual product configuration. LedgeGear 4×4 does not present an untested light bar as DOT, SAE, ECE or universally street-legal simply because a factory’s online catalog uses those labels.
Repeat-order control and the sourcing next step
Keep an approved version record for lenses, LEDs, drivers, seals, brackets, connectors, labels and packaging. If the supplier changes an LED source, housing design, connector or driver, request a description and any needed new review before treating it as the same finished product. Document complaints by batch and investigate the installation context rather than guessing at the failure mode.
LedgeGear 4×4 can coordinate a defined sourcing project for auxiliary off-road lighting components, custom mounts and associated accessory harnesses. Start with the intended vehicle platform, mounting sketches, operating requirements, proposed quantities and shipping destination. See Off-Road Lighting & Wiring, Off-Road Parts by Vehicle or request a sourcing or custom-parts discussion. Actual availability, specifications and supplier terms must be confirmed per inquiry.
Bring an auxiliary light reference, bracket drawing or installation idea. LedgeGear 4×4 can help find potential manufacturers and coordinate product options, custom mounting questions, factory quotations, samples and agreed production follow-up. Explore custom manufacturing coordination or discuss your sourcing project.